Data / Grid Filtering
TBS supports a variety of grid styles. The two main grid styles utilize either column filters or and advanced filter builder tool. Information on how to use these tools are outlined below.
Options 1 - Filter Builder Tool:
The new style grids in TBS allow users to filter data by using the Filter Tool located above the grid. This tool will allow a simple or complex filter to be "built" and supports "AND" or "OR" logic.
Users can build the desired Filter Expressions and then hit the "Apply Filter" button to update the data.
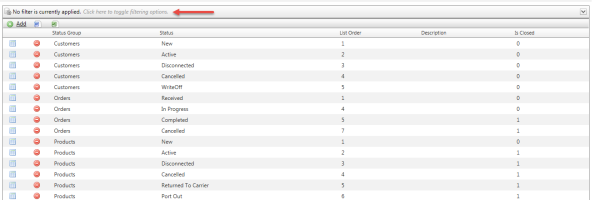
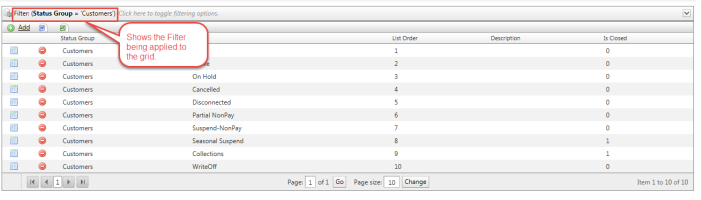
Example: Filter Status Action grid to only show Customers Status Group.
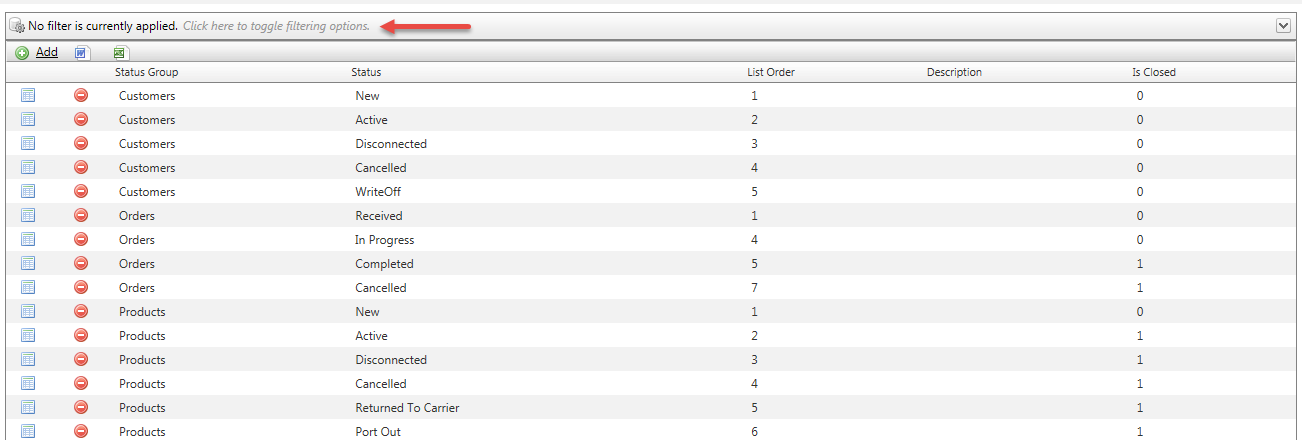
Step 1: When no filter is applied, the filter bar across the top of the grid will indicate this and instruct the user to Click in order to enable filtering options.
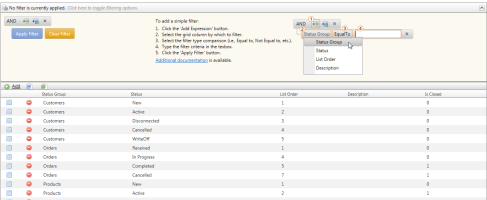
Step 2: Once the filter tools are available, Instructions will appear showing the user how to apply their filter. Users should click the Add Expression button
to get started.
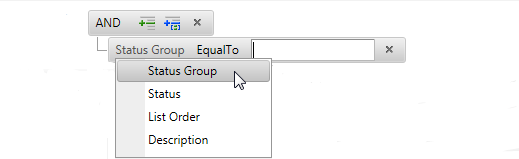
Step 3: Select the grid column to filter by.
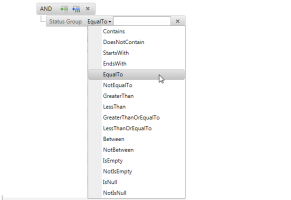
Step 4: Select the filter type comparison (i.e., Equal to, Not Equal to, etc.)
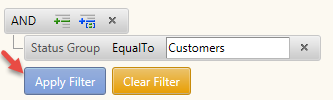
Step 5: Type the filter criteria in the text box

Step 6: Click the Apply Filter button in the top of the main grid
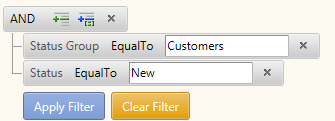
Add additional filters using the "AND" and "OR" options and repeating steps 1-5. Examples:
"AND" Filter - will show Customers Status Group AND only those with a Status of New.
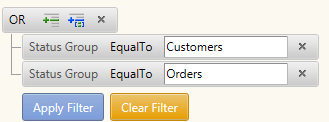
"OR" Filter - will show Customer Status Group OR Order Status Group
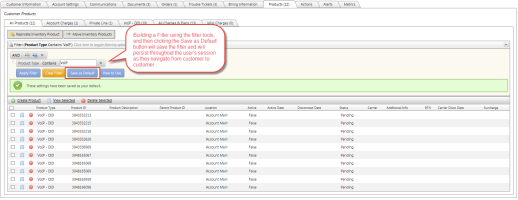
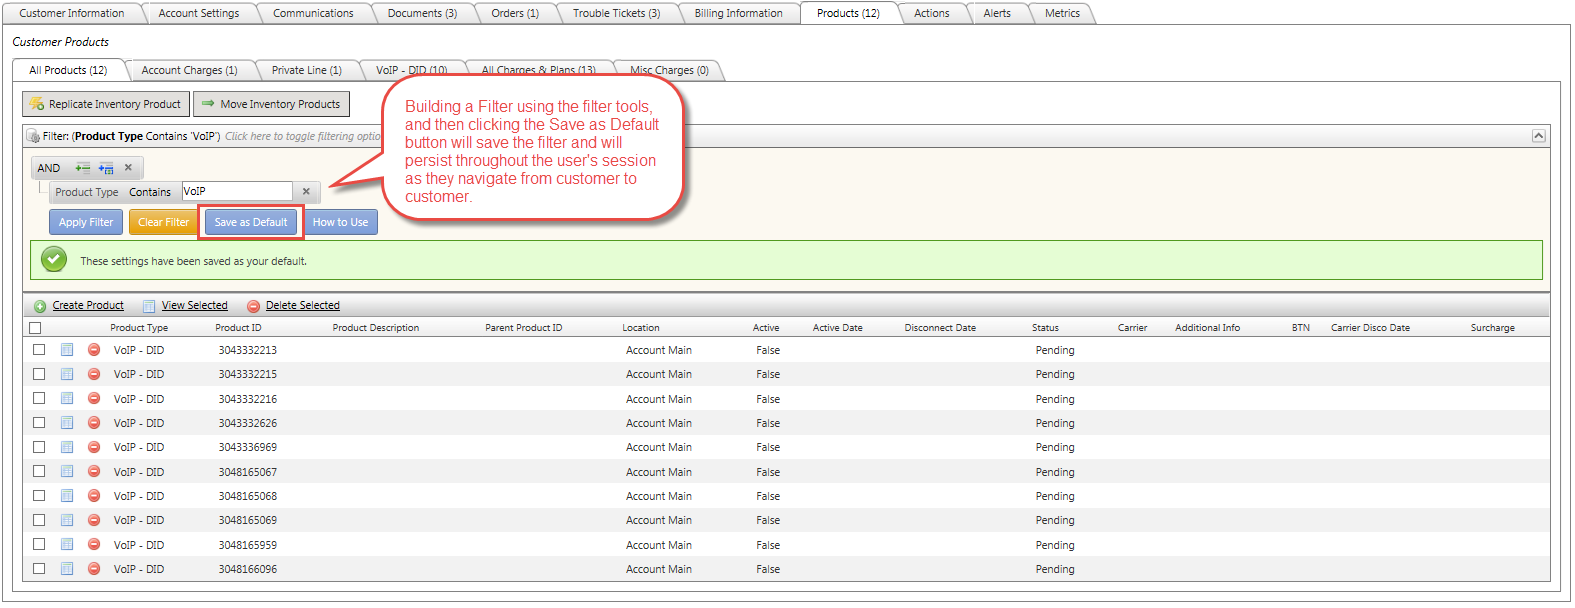
Save as Default Filter: Additionally, on most pages, users can setup a filter and Save it as the Default Filter for that grid across all accounts. This filter will persist for as long as you are logged into the system.
For example, if a provisioning user works primarily with a particular product type most often, they can save a Product Type filter like the one below as their default. Doing so ensures that as they navigate from customer to customer that the filter is automatically applied without having to build it over and over.
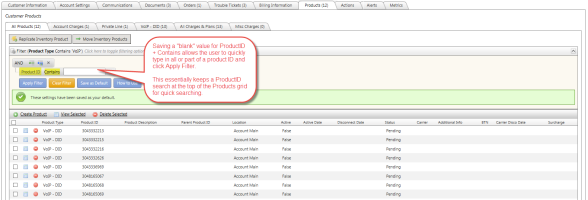
If you often search by ProductID, a useful default filter would be to setup a "Product ID" + "Contains" filter, leaving the actual value blank. (See below). Often times Clients need to quickly find all products based on ProductID or that contain an NPA or NPANXX. By saving an empty ProductID Contains filter, you can quickly type or paste in the ProductID to the filter and click Apply Filter.


General Saved Filters: For pages that do not support the Save as Default option, Filters will be saved in session so that when a user returns to the screen, the same filter will be enabled.
Use the Clear Filter button to remove the filter if desired.

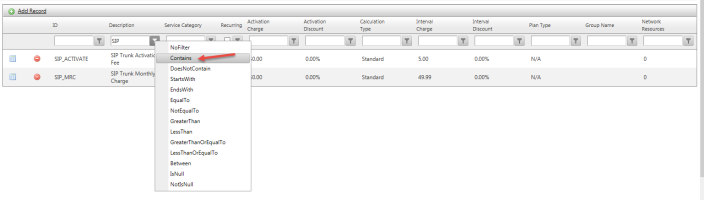
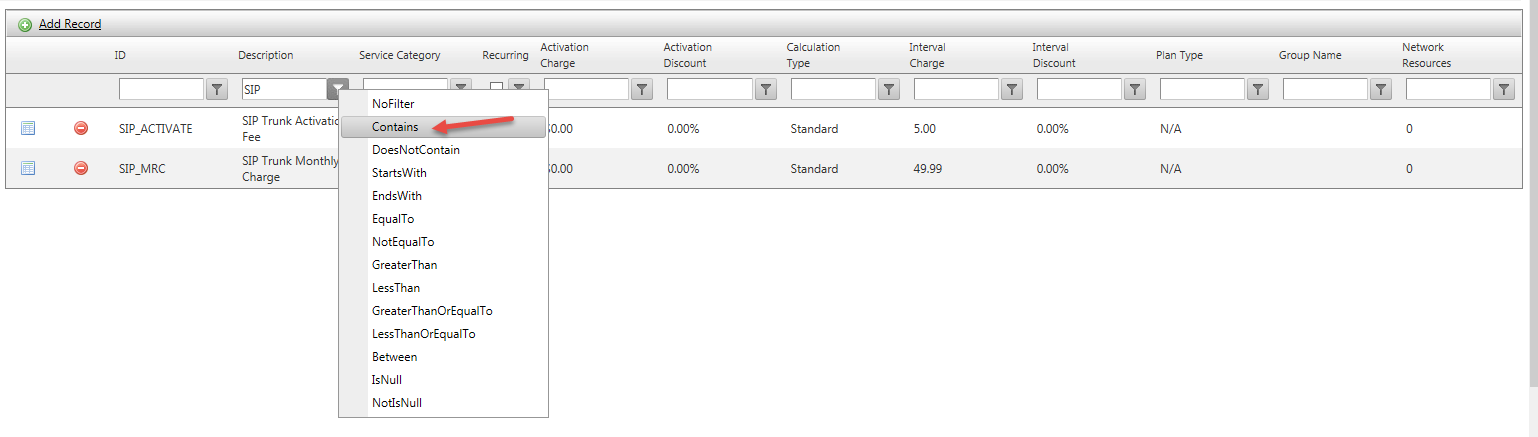
Option 2: Filter Columns:

This method supports filter text boxes that appear at the top of each column. Uses can type in any text and then using the
icon, apply the comparison filter to the data in the grid. This filtering option works well but has some limitations. First, when returning to a grid from another page, users must re-apply the filter. Second, multiple columns can be filtered at once but this is limited to using "AND" logic.
To apply the filter, the user must first enter the text into the appropriate column text box header and then select the proper filter option. The data will filter immediately.